DIY Avocado Hair Mask You Can Whip Up Now
Picture this: after a long week, your hair feels dry and lifeless, lacking that healthy glow. A simple solution could be right in your kitchen. The DIY avocado hair mask not only offers nourishment but also revitalizes your scalp and strands effectively. Curious about how to whip this up and bring your hair back to life? Let’s explore the ingredients and steps you’ll need to bring your hair back to its vibrant self.
Benefits of Avocado for Hair
Avocado is a powerhouse for your hair, packed with essential nutrients that can transform your locks.
When you whip up a DIY avocado hair mask, you’re treating your hair to a rich source of vitamins E and B, promoting moisture and shine.
The healthy fats in avocado nourish the scalp, reducing dryness and flakiness.
Plus, its antioxidants help combat damage from free radicals, leaving your hair stronger and healthier.
Whether you’ve got curls, waves, or straight strands, this mask can enhance your hair’s texture and vibrancy. Additionally, using avocado in your hair routine can provide a natural alternative to chemical-laden products for nourishing treatment.
Embrace the creamy goodness for a fabulous at-home hair treatment you won’t regret!
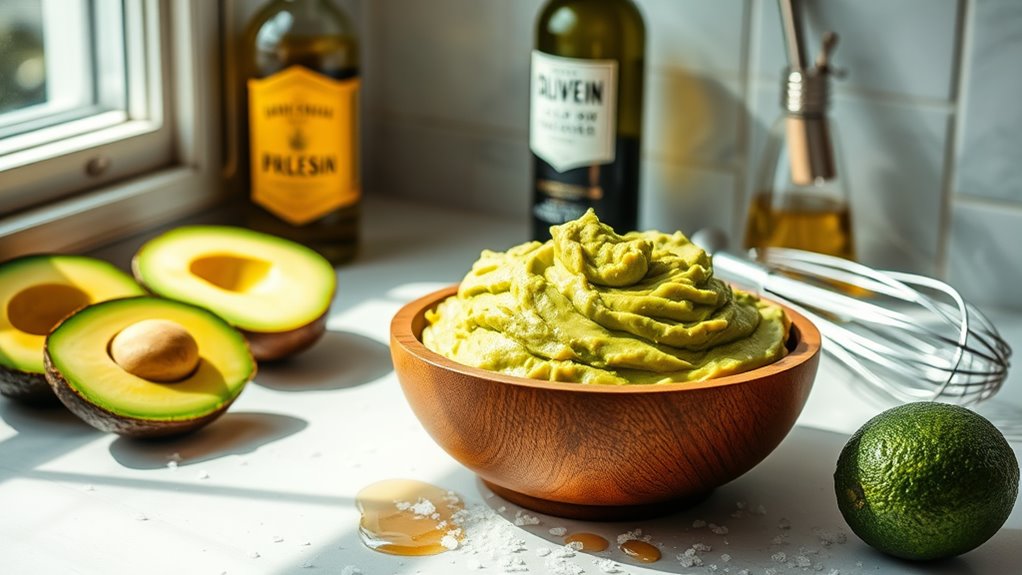
Ingredients You’ll Need
To create a nourishing avocado hair mask, you’ll need just a handful of simple ingredients that work wonders for your hair.
Start with a ripe avocado, packed with healthy fats and vitamins. Adding avocado to your hair care routine can enhance the health of your hair, making it more resilient and lustrous.
Next, grab a tablespoon of honey, which adds moisture and shine.
For extra nourishment, include two tablespoons of olive oil—perfect for deep conditioning.
If your hair craves protein, consider adding an egg to strengthen and protect each follicle.
Lastly, a few drops of your favorite essential oil will give your mask a delightful fragrance.
These ingredients will transform your locks into soft, shiny, and revitalized tresses.
Step-by-Step Instructions
Start by gathering all your ingredients and tools to create a seamless hair mask experience.
You’ll need a ripe avocado, a bowl for mixing, and a fork for mashing.
Follow these simple steps:
- Cut the avocado in half and remove the pit.
- Scoop the flesh into the bowl and mash it until smooth.
- Mix in any additional ingredients like olive oil or honey for added benefits.
Once you’ve achieved a creamy consistency, your mask is ready to use. Using avocado in your hair mask is beneficial because it is rich in nutrients that promote hair health.
This quick and easy preparation ensures your hair gets the nourishment it craves without any hassle.
Enjoy the process and your silky results!
Tips for Application
To get the most out of your avocado hair mask, start by sectioning your hair for smoother application. Applying the mask evenly ensures every strand gets the nourishment it craves. Don’t forget about the leave-on duration—allowing the mask to sit just long enough will let those beneficial ingredients work their magic! Additionally, using ingredients rich in natural nutrients can enhance the mask’s effectiveness and promote healthier hair.
Section Your Hair
Sectioning your hair can make all the difference when applying an avocado hair mask.
It helps ensure even coverage and prevents messy application.
Start by dividing your hair into manageable sections.
-
Use clips to secure each section, keeping hair out of the way.
-
Work from the bottom layers up to ensure you don’t miss any strands.
-
Tailor the sections to your hair type—thicker hair might require smaller sections for thorough application.
Even Application Technique
Applying the avocado hair mask evenly is crucial for achieving maximum benefits.
Start by using your fingers or a brush to gently distribute the mask from your roots to the tips.
Work in sections, using the palms of your hands to ensure every strand is coated.
Focus on areas that need extra moisture, like dry ends.
Don’t rush; take your time to massage the mask into your scalp, stimulating blood circulation.
Once you’ve covered all your hair, gather it into a loose bun or clip.
This helps the mask penetrate better, giving you luscious, nourished locks after rinsing.
Leave-On Duration
Once you’ve evenly applied the avocado hair mask, the next step is to consider how long to leave it on for the best results.
Typically, you should let it sit for about 30 minutes to an hour.
This allows the nourishing compounds to deeply penetrate your hair and scalp.
- For dry or damaged hair, aim for the full hour.
- If you’re short on time, even 20-30 minutes can be beneficial.
- Cover your hair with a shower cap to enhance absorption and maintain warmth.
With this duration, your locks will thank you, feeling softer and revitalized!
How Often to Use the Mask
Wondering how often you should indulge in the nourishing benefits of an avocado hair mask? To get the best results, aim to use it once a week.
This frequency allows your hair to absorb all the vitamins and healthy fats without feeling overloaded. If your hair is particularly dry or damaged, you might benefit from using the mask every 4-5 days.
Always pay attention to how your hair reacts; if it feels heavy or greasy, scale back to once a week.
Consistency is key, so make it a delightful ritual that revitalizes your locks and restores their natural shine. Additionally, you can complement your avocado mask with coconut hair masks to enhance shine and nourishment.
Additional Variations to Try
If you’re looking to customize your avocado hair mask experience, there are plenty of exciting variations to experiment with.
Each tweak allows you to target specific hair needs while maintaining that nourishing avocado base.
Here are a few to consider:
- Honey & Olive Oil: Add a tablespoon of honey and a few drops of olive oil for extra moisture and shine.
- Coconut Milk: Mix in coconut milk to enhance hydration and promote hair growth.
- Essential Oils: Boost your mask with essential oils like lavender or rosemary for a soothing scent and added benefits.
These variations can elevate your DIY hair care routine in delightful ways!