My Skin Calmed Down After This One DIY Mask
If your skin’s been feeling irritated or inflamed, you might want to consider a DIY aloe vera mask. This simple recipe combines soothing ingredients that work together to calm redness and hydrate your skin. Imagine applying a cool, nourishing layer that revitalizes your complexion almost instantly. Curious about what goes into this mask and how to make it? There’s more to discover about this transformative skincare routine.
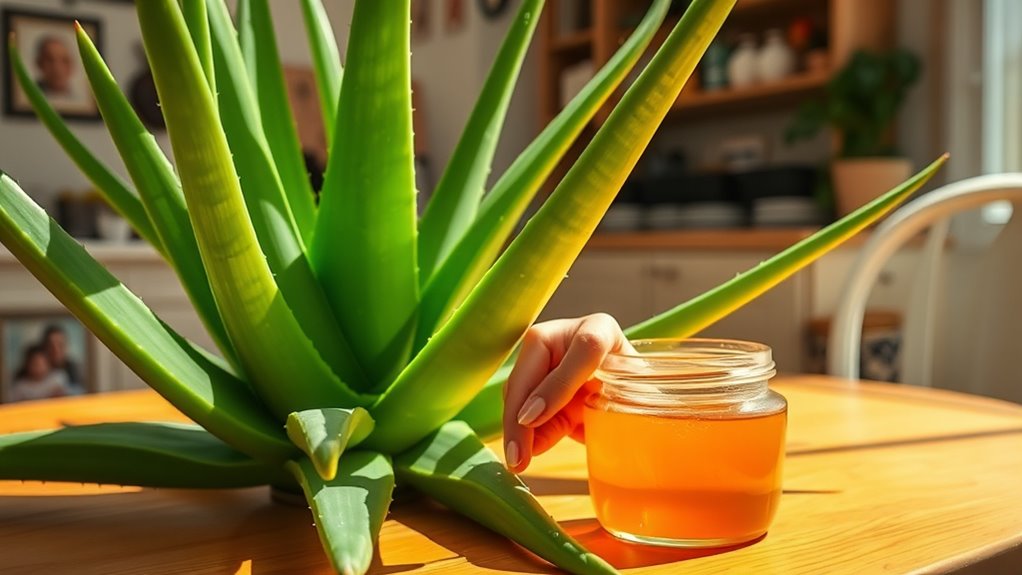
The Benefits of Aloe Vera for Skin
When you think of skincare, you mightn’t immediately consider aloe vera, but this succulent plant is packed with amazing benefits for your skin.
Its natural properties make it a fantastic choice for creating a soothing aloe mask. Aloe vera hydrates, calms redness, and promotes healing, making it ideal if your skin’s feeling irritated or sun-exposed. Additionally, aloe vera is known for its soothing properties that can significantly improve skin texture.
You’ll love the refreshing results!
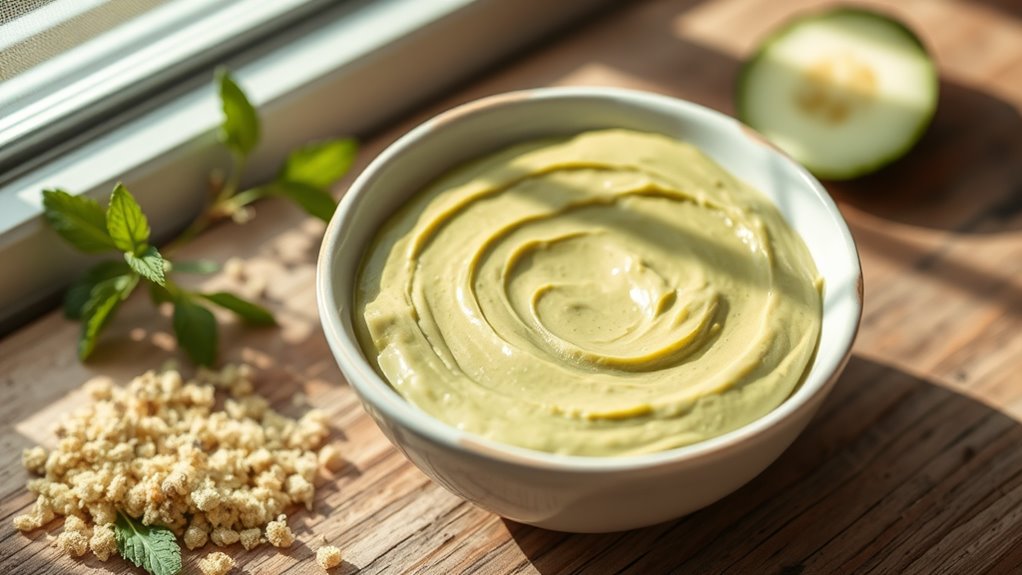
Ingredients You’ll Need for the DIY Mask
Aloe vera isn’t just great on its own; it pairs perfectly with a few other natural ingredients to create an effective DIY mask for your skin. You’ll need honey for its soothing properties, turmeric for its anti-inflammatory benefits, and yogurt to add moisture and probiotics. Together, these ingredients work harmoniously to nourish, calm, and rejuvenate your skin for a radiant complexion. Additionally, using natural ingredients in skincare can significantly reduce the risk of irritation and promote overall skin health.
Step-by-Step Instructions to Create the Mask
Creating your own DIY mask is a fun and rewarding process that can be done in just a few simple steps.
First, combine your chosen ingredients in a bowl, mixing until you achieve a smooth paste.
Next, adjust the consistency with water or oil if needed.
Finally, transfer the mixture into a clean container, and it’s ready to use whenever you need it!
Incorporating gentle ingredients such as oatmeal or honey can enhance the soothing effects for sensitive skin.
How to Apply the Mask for Maximum Effect
With your DIY mask ready to go, the next step is applying it effectively for the best results.
Start with a clean face, gently patting it dry.
Use your fingers or a brush to evenly spread the mask, avoiding your eyes and mouth.
Leave it on for the recommended time, then rinse thoroughly with lukewarm water, revealing rejuvenated skin.
Make sure to choose a mask suitable for your specific skin type, as this will enhance the overall effectiveness of the treatment.
Enjoy the glow!
Tips for Storing Leftover Mask
After enjoying your DIY mask, you might find yourself with some leftover mixture. Knowing how to store it properly ensures you can reap the benefits for your next skincare session.
Store it in a clean, airtight container in the fridge to maintain its freshness. Use it within a week for optimal results, and always give it a good stir before reapplying. Additionally, incorporating natural ingredients like those found in overnight frizz control can enhance your mask’s effectiveness.
My Personal Experience and Results
Trying out my first DIY mask was a transformative experience for my skincare routine. You’ll feel the soothing sensation as it cools your skin, reducing redness and leaving a rejuvenated glow. Here’s a quick snapshot of my results:
| Day | Skin Condition | Visible Changes |
|---|---|---|
| Day 1 | Irritated | Slightly calmer |
| Day 3 | Redness reduced | Noticeably smoother |
| Day 5 | Glowing | Even skin tone emerging |
| Day 7 | Refreshed | Confidence restored |
By using natural ingredients, you can effectively soothe irritated skin and promote overall healing.